Setting up a Custom Domain Email Account

Introduction
This document contains instructions for setting up Google’s Gmail.com platform so that you can send and receive emails from your custom domain (hosted by Drive Marketing). These instructions are based on the December 2019 updates of Gmail.
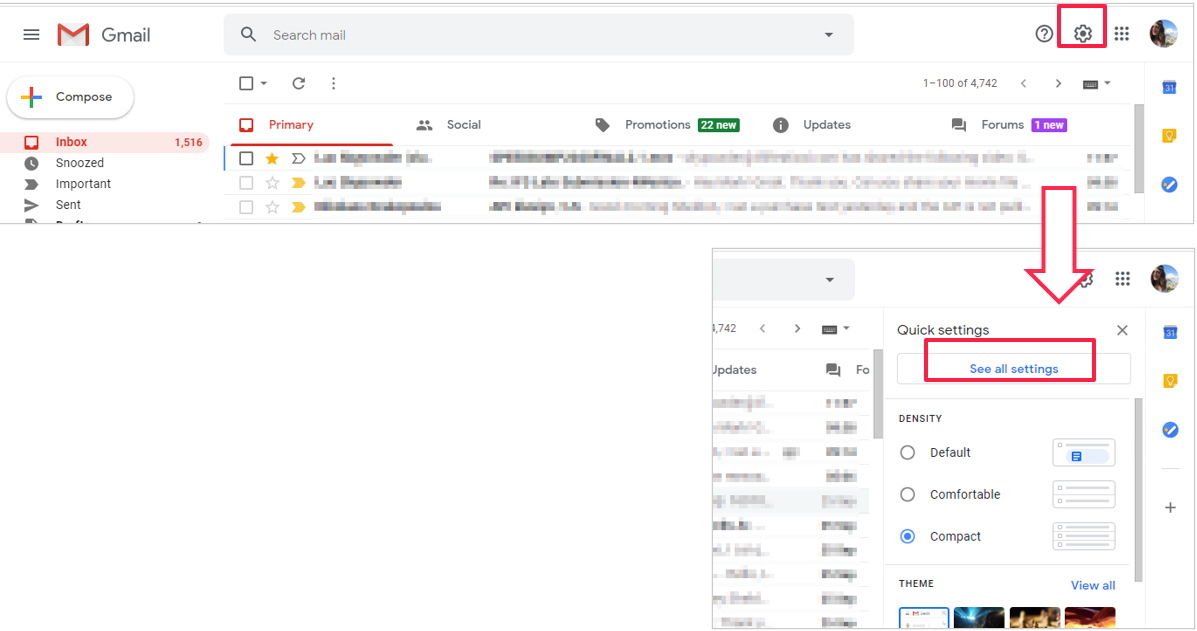
1. Select "See all settings."
Log into your Gmail.com account and click on the gear icon in the top-right corner
From the drop-down menu, click on “See all settings.”
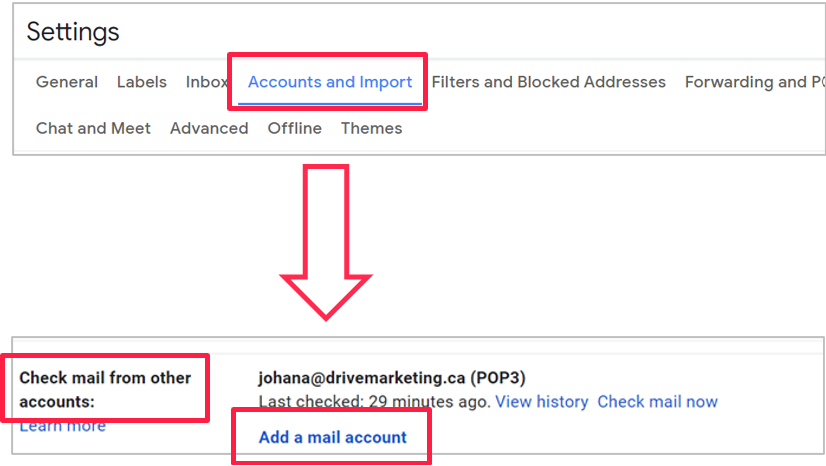
2. Add a Mail Account
Click on the tab “Accounts and Import.”
Then, scroll down to the “Check mail from other accounts” subcategory.
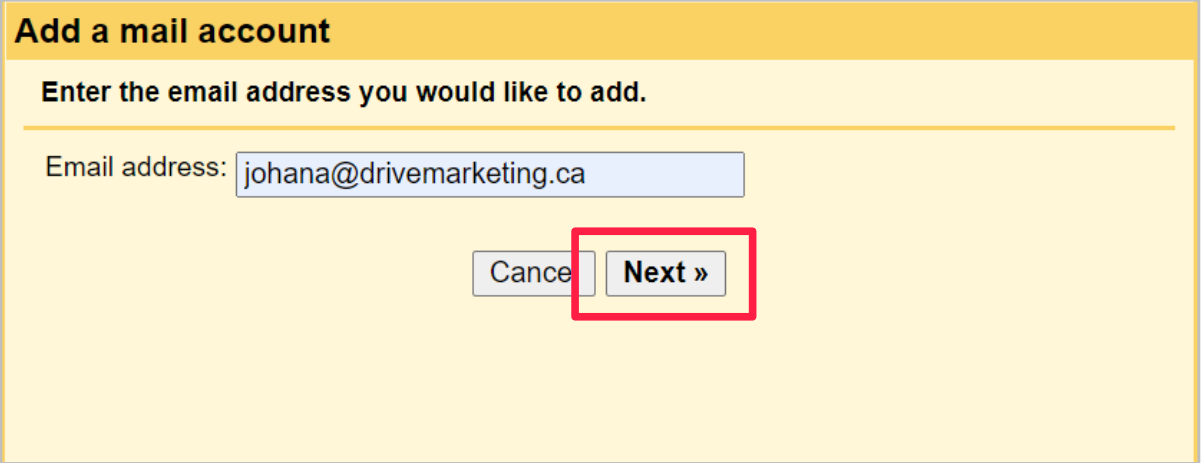
3. Type in Your Email Address
This will bring up a pop-up window.
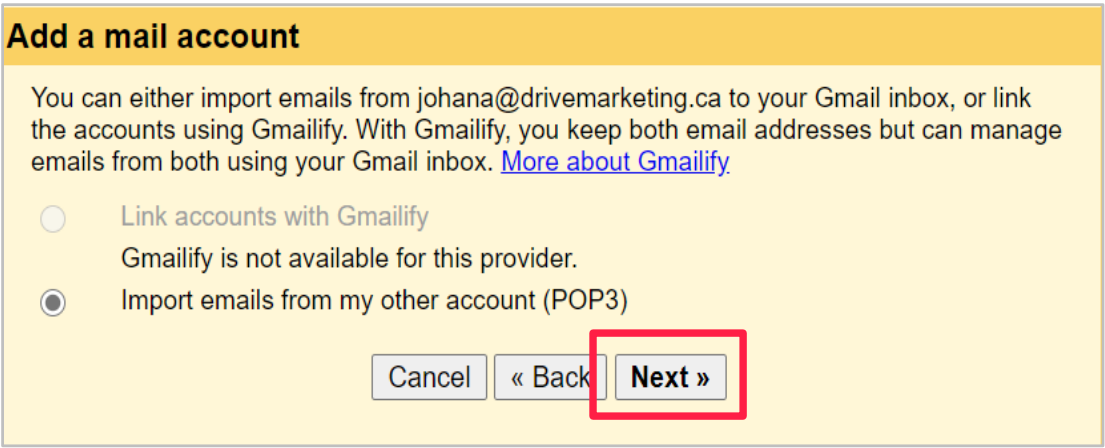
4. Select "Import emails"
Select “Import emails from my other account (POP3)” then click “Next.”
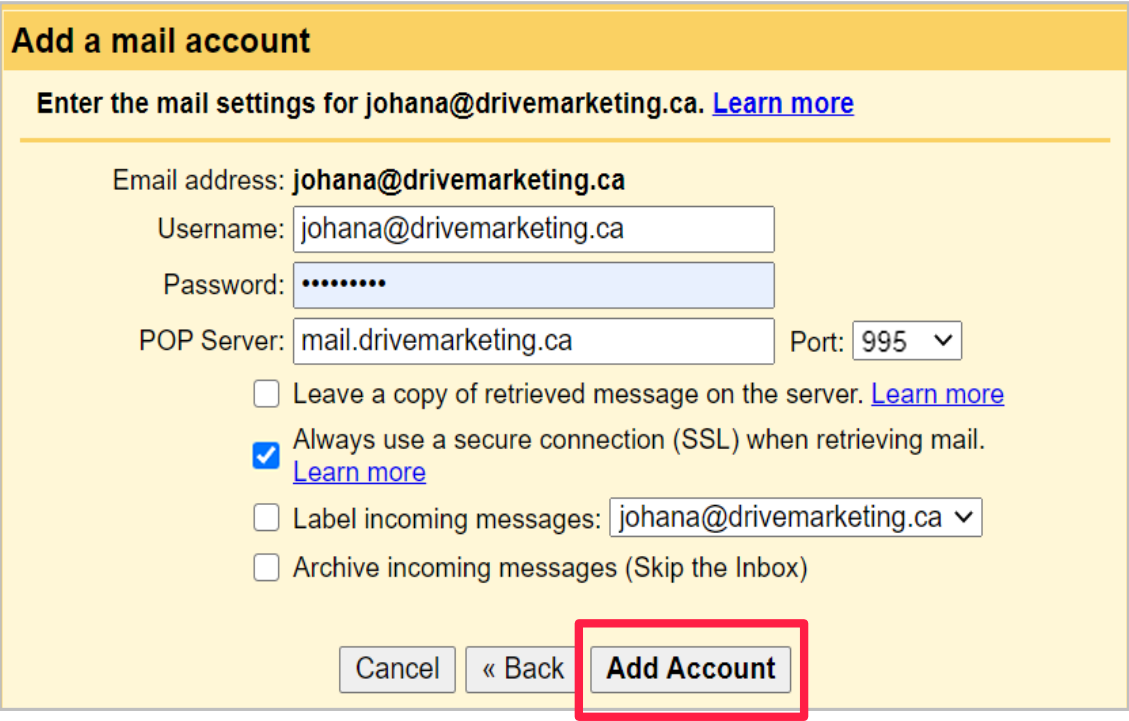
5. Fill in the Username, Password and POP Server
For “Username,” fill in your full email address.
For “Password” type in the email password that was provided to you.
For “POP Server” use the format “mail.YOURDOMAIN.ca” (replace “YOURDOMAIN.ca” with your website address).
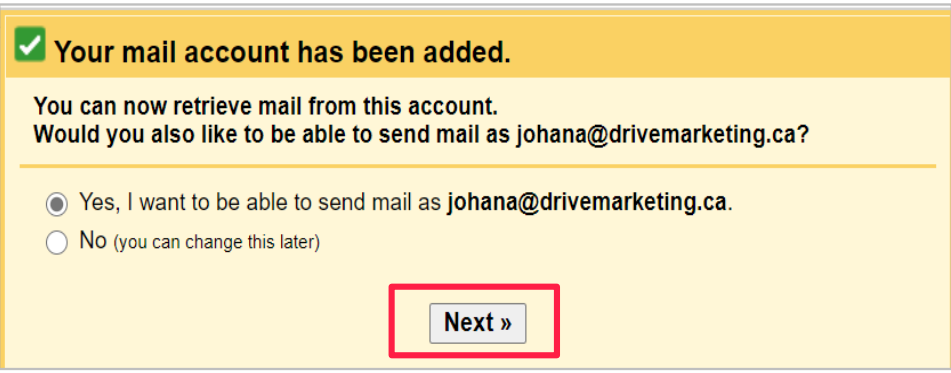
6. Select "Yes"
Select “Yes, I want to be able to send mail as [your email]” and click “Next.”
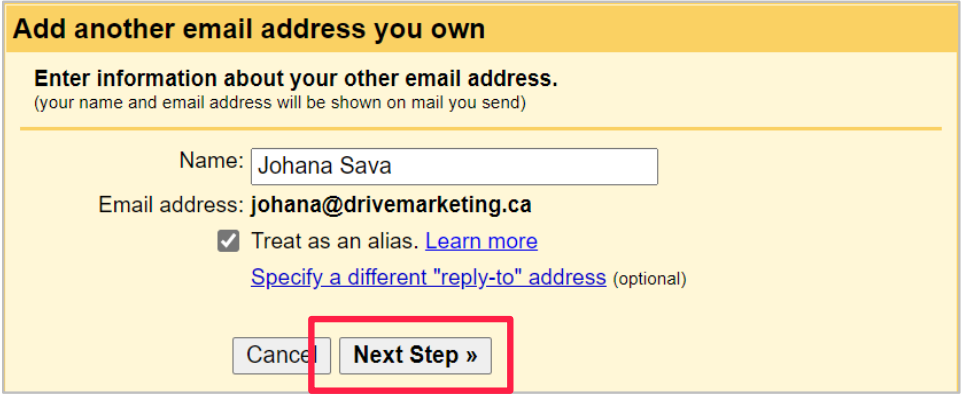
7. Fill in Name
Type in your “Name.”
Select “Treat as an alias.”
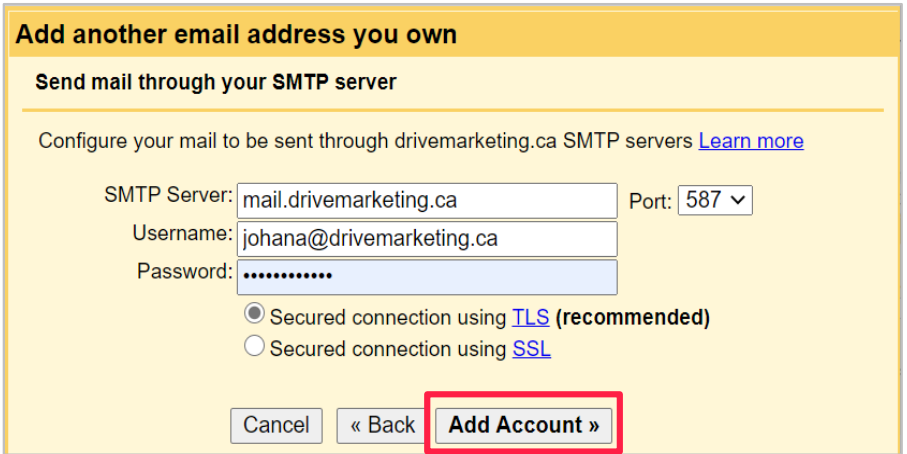
8. Fill in the SMTP Server, Username and Password
For the “SMTP Server” use the same “mail.YOURDOMAIN.ca” format as before.
For the “Username”, be sure to use your full email address.
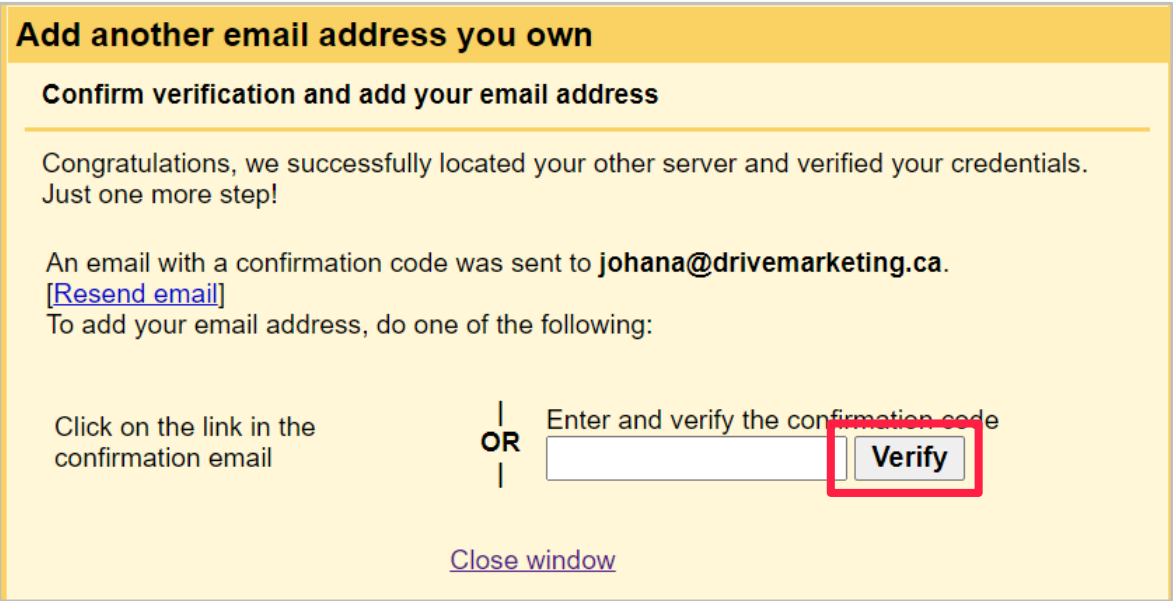
9. Copy and Paste Confirmation Code
You will be asked by Gmail.com to provide a confirmation code. This email will be sent to your email address as a way to ensure that you are the correct owner of the email.
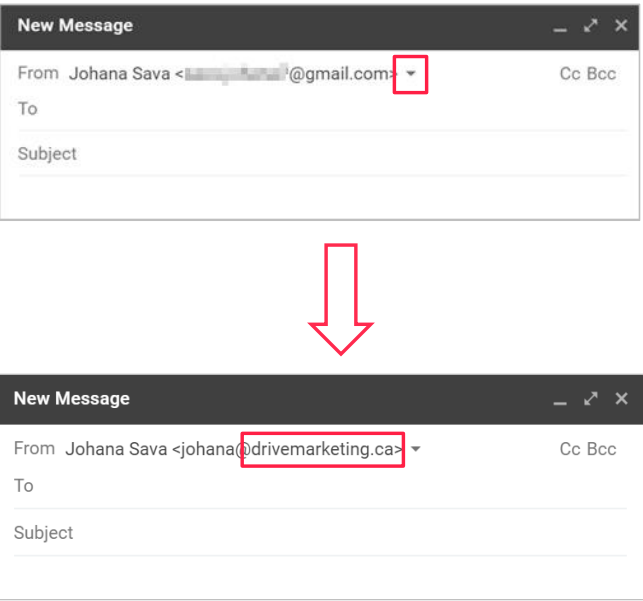
10. Compose Email From Work Account
If everything has been configured properly, when you compose an email in Gmail.com, you will now notice that under “From” you have a dropdown arrow which will allow you to send email from your new account.