Installing the Drive Framework
The following instructions relate to the clean installation of the Drive Framework on a new website.
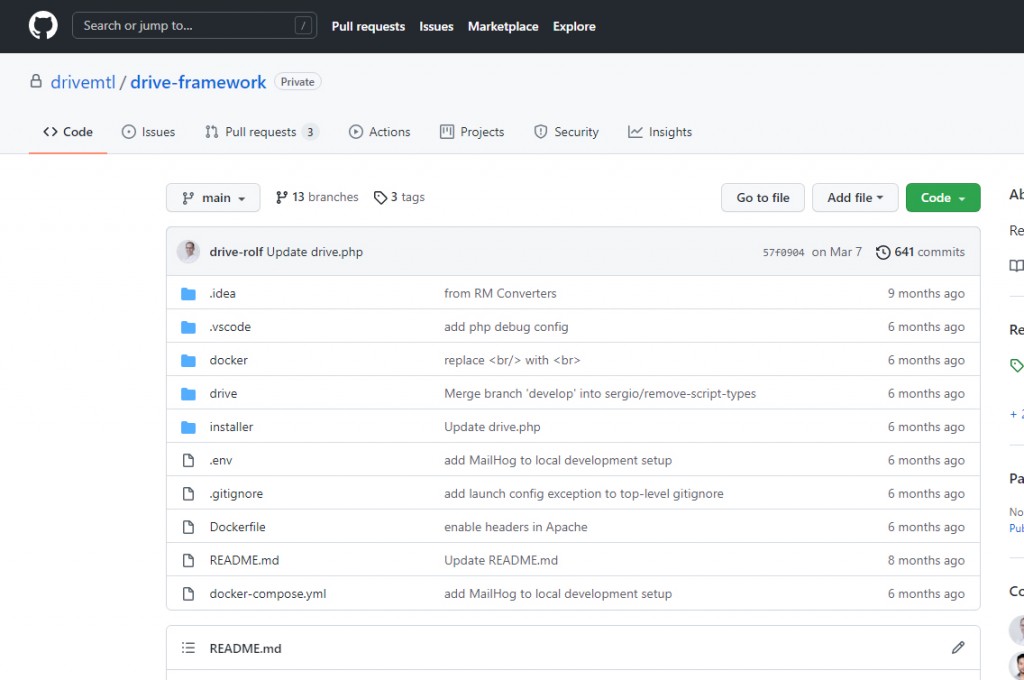
1. Open the Git repository for the drive framework.
[github.com/drivemtl/drive-framework]
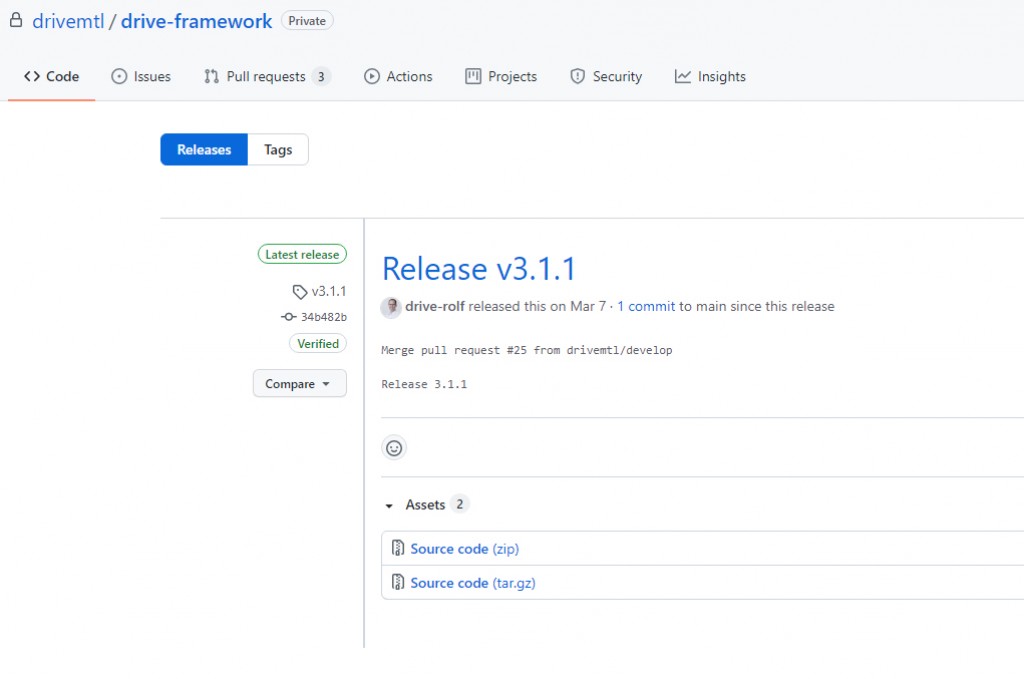
2. Download the Source code (zip) file of the latest release.
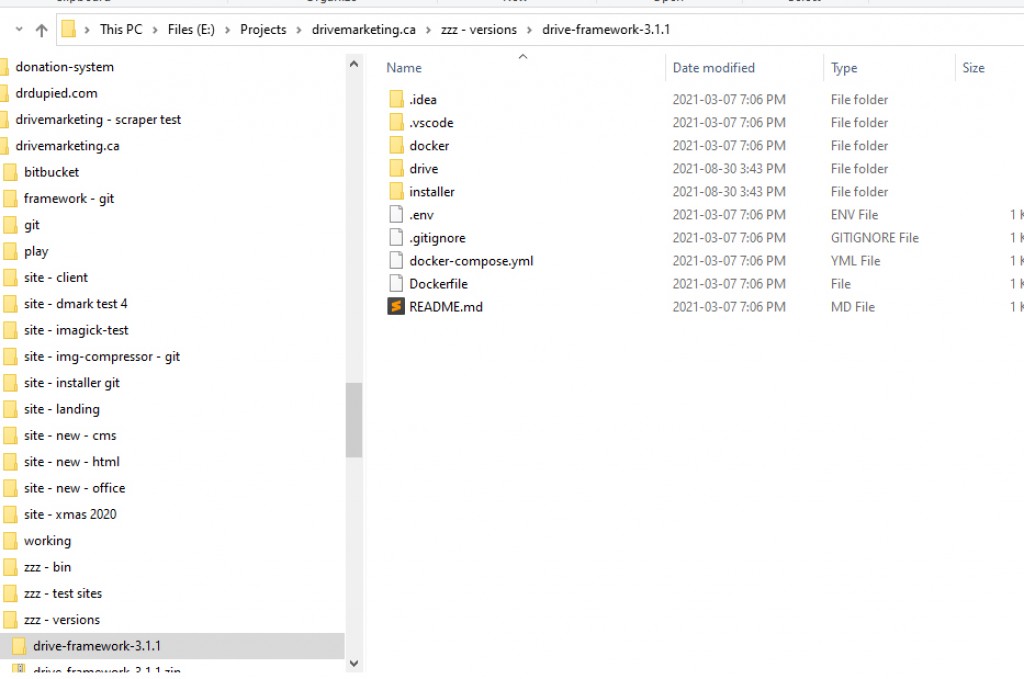
3. Unzip the zip file.
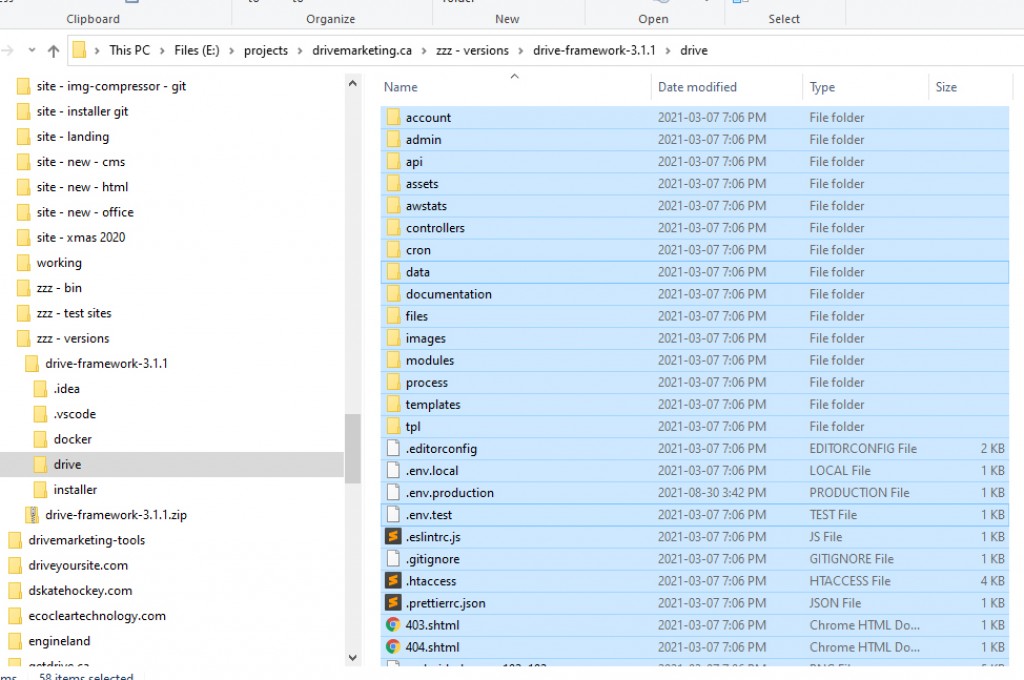
4. For Reference: Files highlightd in the Drive folder are those that will appear on the test/production server for the project.

5. Open the installer folder, which contains the files that must be uploaded to the test server:
- drive.php
- drive.zip
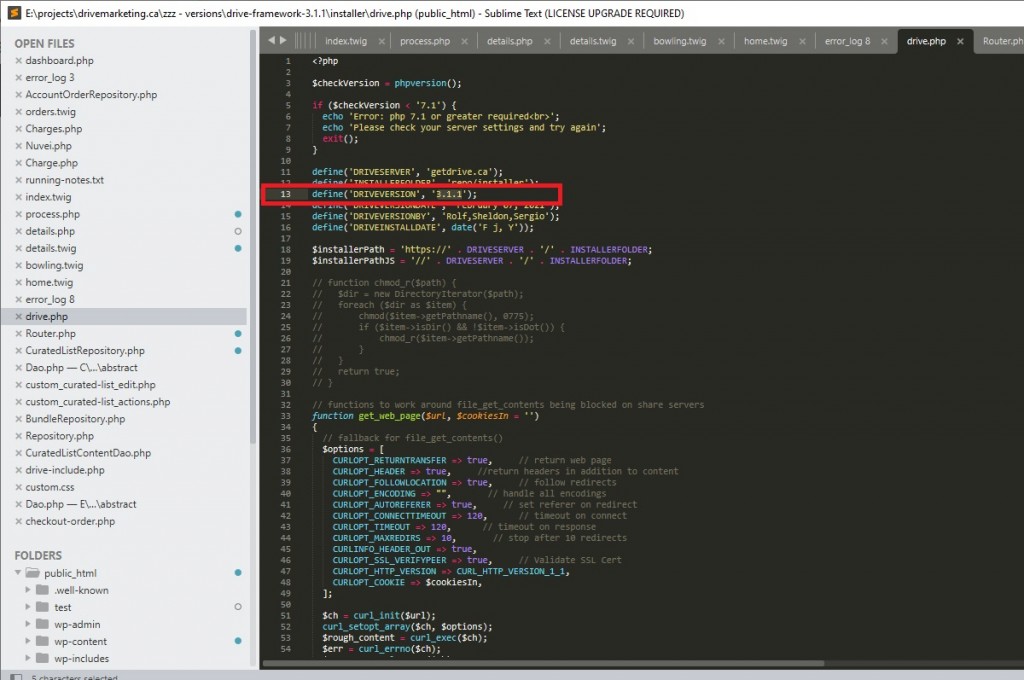
6. Verify that DRIVEVERSION in the drive.php file (line 13) matches the version in the folder name for the downloaded file.
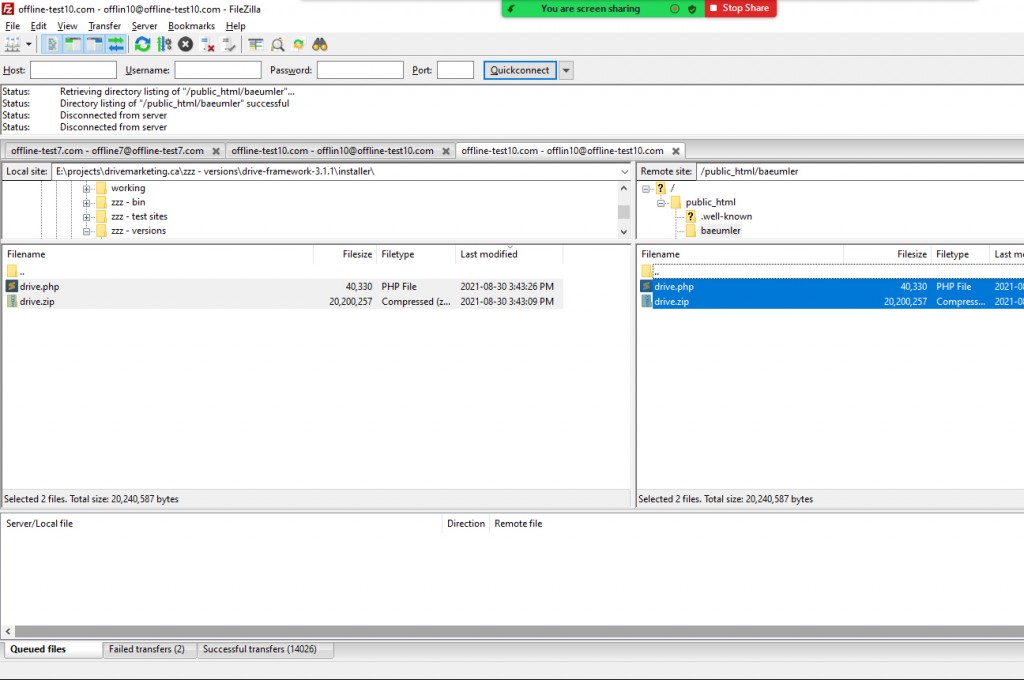
7. Upload drive.php and drive.zip to the project folder of the test server (ex: offline-test#.com), which should be found under public_html/project name (ex: public_html/baeumler).
The project folder should already have been created by whoever set up the test server.
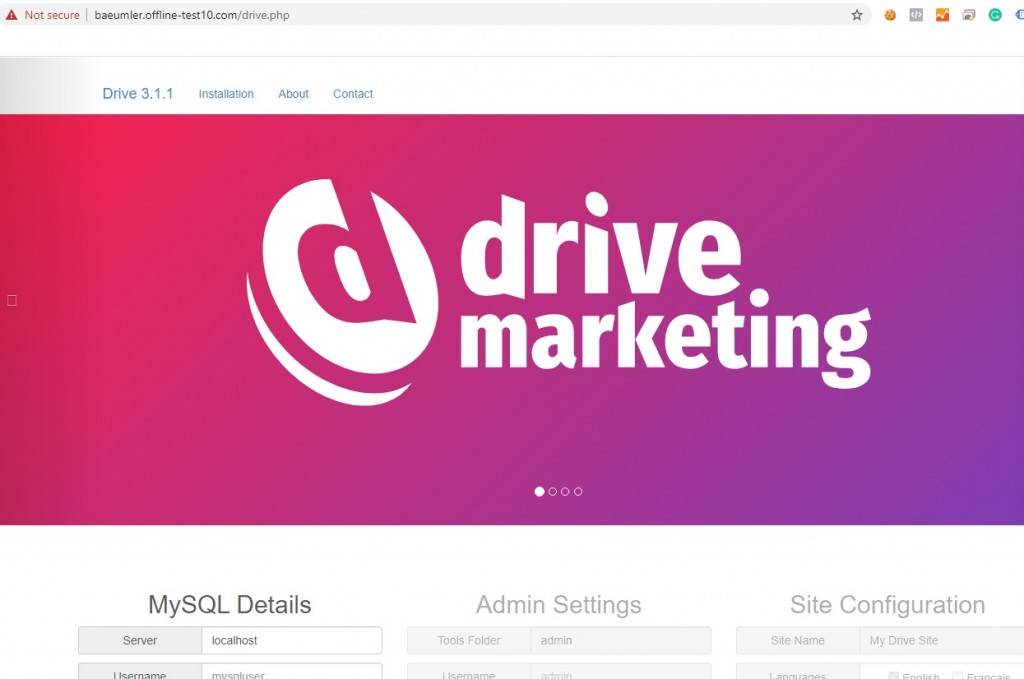
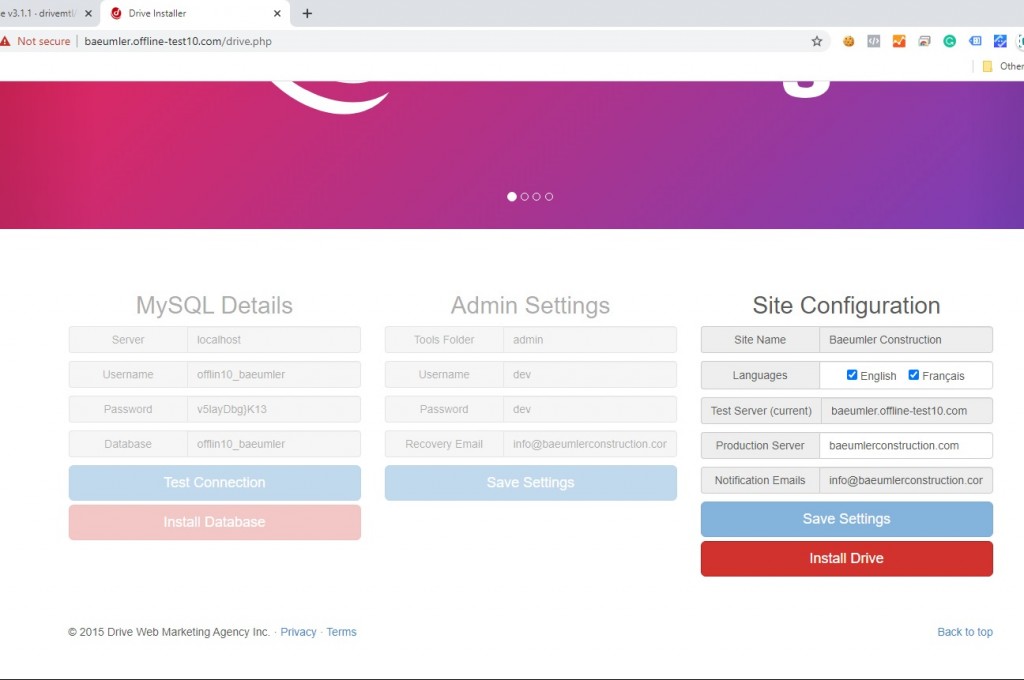
8. Open the drive.php file on the test server. It should look like this:
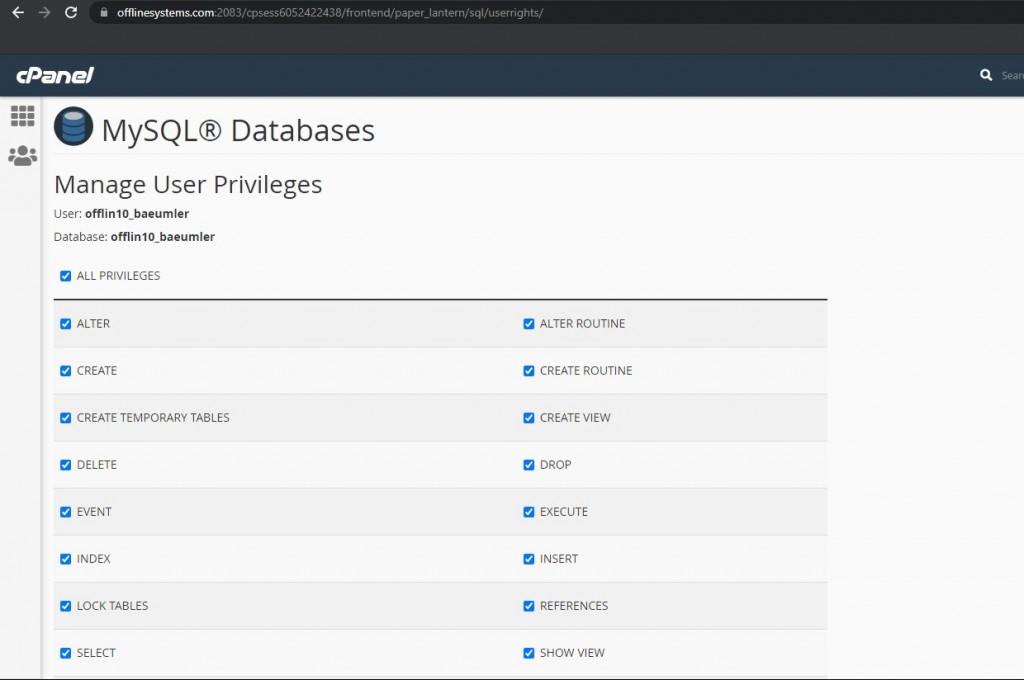
9. You should have been provided with a database, username and password.
Username and database should follow the same format: offline#_projectname (ex: offlin10_baeumler).
Note: In this case due to a character limit the prefix 'offlin' is shortened. Project files on test servers 1-9 will have ‘offline’ spelt in its entirety (ex: offline8_nagano).
10. Return to the test server and enter the appropriate credentials (these should be supplied).
-MySQL Details allows you to create the database and user for the project. Enter the appropriate credentials into the fields under MySQL.
-Admin Settings allows you to create the login credentials for the admin panel.
-
Unless you have been told otherwise, set the Tools Folder to: “admin”
-
Unless you have been told otherwise, set the Username to: “dev”
-
Unless you have been told otherwise, set the Password to: “dev”
-
Unless you have been told otherwise, set the Recovery email to: ([email protected])
(cont'd)
(10. cont'd)
-Site Configuration allows you to create the site name, set languages to install, and creates the files that contain credentials for the production server.
-
Site name: Project name
-
Select languages (english and/or french)
-
Test Server (current): displays the name of the test server
-
Production server: Enter the name if you know what it is
-
Notification Emails: Same as Recovery Email
*Click on Install Drive* and wait until the framework has been installed and the success message has been displayed. This may take some time.
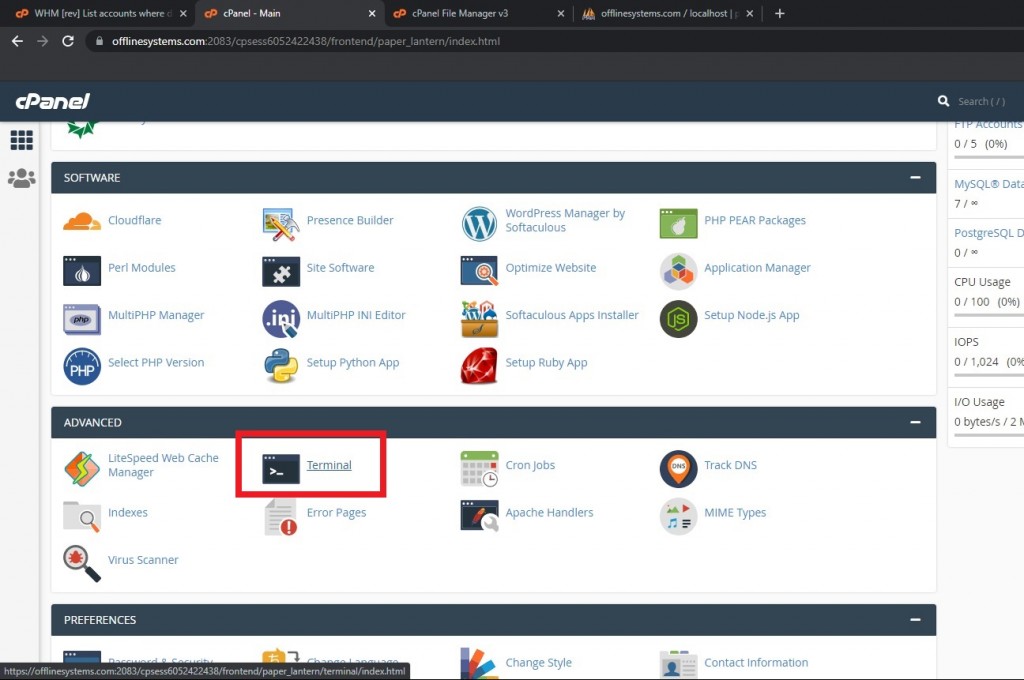
11. Login to the cPanel. Open Terminal (under Advanced)
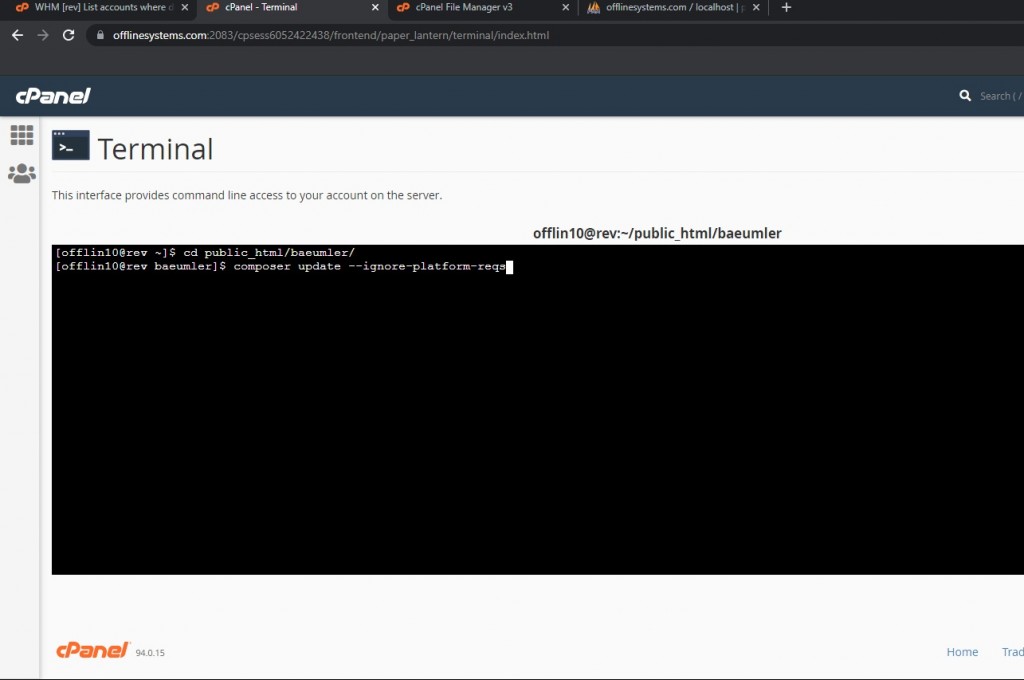
12. Enter 2 commands into the terminal
1. To change directory.
Enter: cd public_html/projectname
(ex: cd public_html/baeumler)
2. To install project dependencies using composer.
Enter: composer update --ignore-platform-reqs
Wait until the project dependencies have been installed. This may take some time.
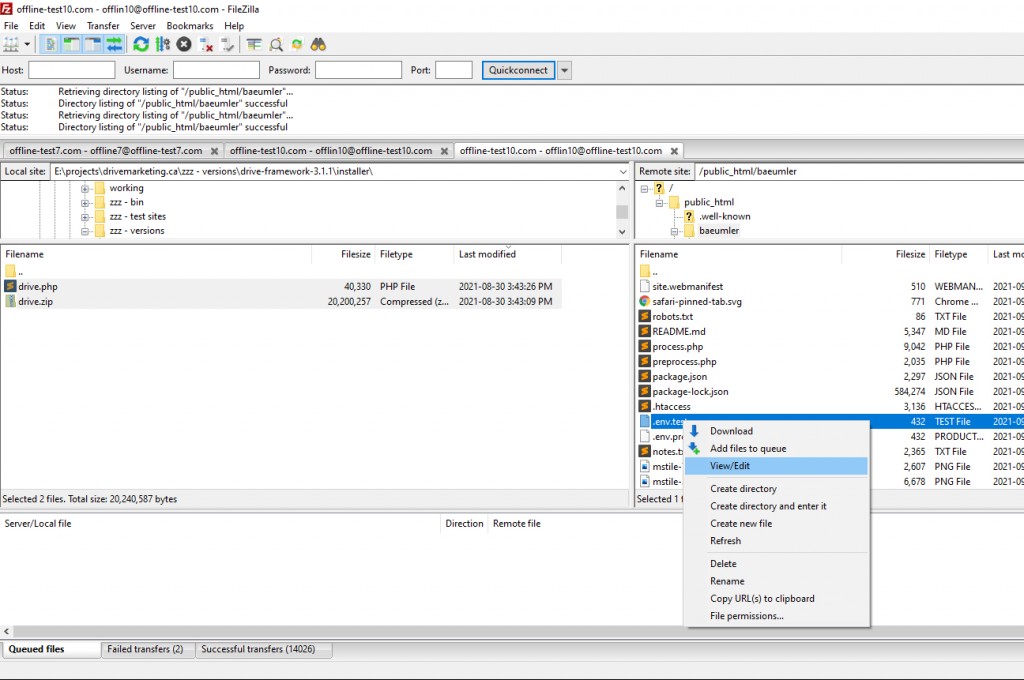
13. *Required only for projects with composite names*
Right click to view/edit .env.test file.
14. *Required only for projects with composite names*
Locate SITE_NAME (row 11).
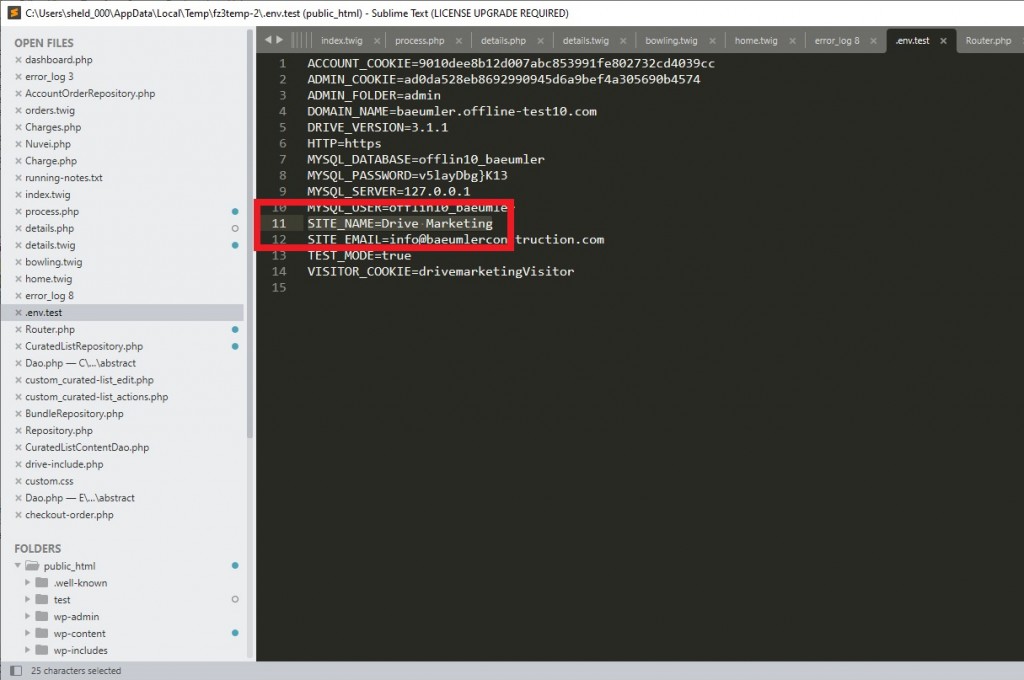

15. *Required only for projects with composite names*
Add quotation marks ("") around the composite name.
Congratulations, you're done!